Kidstock!
  • HOME
    • ABOUT >
      • OUR PHILOSOPHY
      • OUR FACILITY
      • OUR TEAM
      • WORK WITH US!
      • DIVERSITY & INCLUSION
      • FINANCIAL ASSISTANCE
      • EMPLOYEES ONLY
  • 2022-23 SCHOOL YEAR
    • FIND THE RIGHT CLASS
    • THEATER CLASSES
    • KCT SHOWS
    • SCHOOL VACATION DAYS
    • REFUND POLICY
  • SUMMER 2023
    • WHAT IS FULL?
    • REFUND POLICY
  • PARTIES
    • turning ages 4-7
    • turning ages 8-11
  • ENRICHMENT
    • ON NO! SHOW
  • BACKSTAGE

HOW TO CREATE A CURIOUS GARDEN

3/13/2021

0 Comments

 
Picture
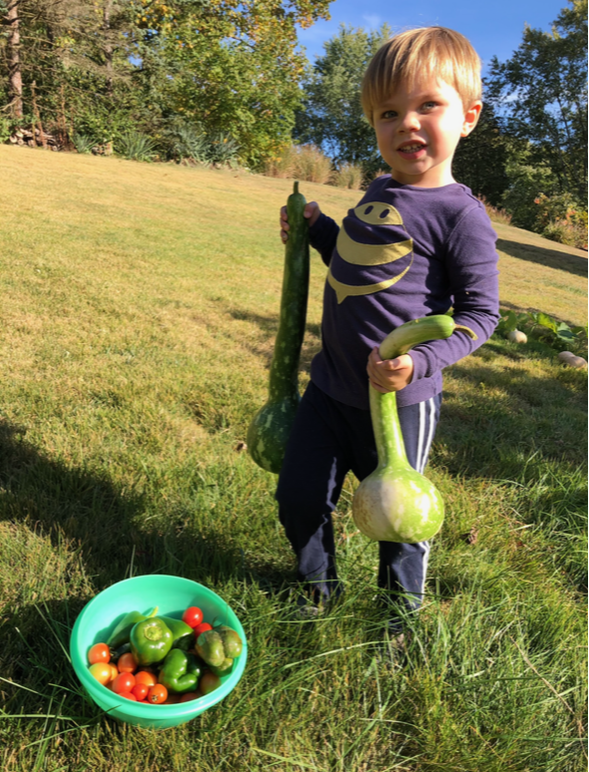
contributed by Amanda Marasch

March is the time of year where I start to look forward to warmer weather and spring plants. My husband and I bought my son a book when he was a baby called The Curious Gardener, written and illustrated by Peter Brown. The story reminded my husband and I of one of our favorite date spots in NYC, High-Line Park. Reading the book with my son last year, we started to explore the ideas of what our garden will look like. I was raised with a large suburban garden full of tiny peas, vibrant green beans, bright yellow squash, tiny sour strawberries, and juicy tomatoes of all sizes and shapes. Last March my son was finally old enough for us to bond through this process together. Here is our step by step process of how to create a curious garden:

  1. First, we draw what we want our garden to look like. We use crayons and colored pencils to sketch our dream garden. I then purchase the seeds we need to make it happen. 
  2. Place the seeds in a paper towel and fold the paper towel in half. Wet the paper towel so that it’s damp. Place the paper towel in a brown paper bag and place that paper bag somewhere that is dark. I usually place it under the sink in my bathroom. 
  3. Two days later, check on your seeds. If the paper towel is no longer damp, then re-wet it. If they have not yet sprouted, place them back in your dark undisturbed spot until they do! If the seeds have sprouted, then you are on your way. 
  4. Once you have sprouts, carefully open the paper towel on a flat surface. Some of the sprouts may have crawled through the paper towel and you will  need to gently untangle them. 
  5. Now, plant your sprouts! We use tiny starter pots and set them near our biggest windows with lots of water. We found a stack of these for a dollar this year and trays to catch the water run-off.  We add 2-3 sprouts to each starter pot just in case a sprout doesn’t make it. 
  6. This is the time to sit with your loved ones and read a good book to your new sprouts.  We also pick a song a day to sing to them… just for fun. 
  7. When the chance of frost has gone and the ground has thawed, your little plants will be ready to grow, thrive and fill your curious gardens. Enjoy!
0 Comments

Your comment will be posted after it is approved.


Leave a Reply.

    The 
    Creative
    Catch up

    The Creative Catch Up is a blog for people with creative interests in the greater Boston area. Posts are contributed by Kidstock! family, friends, & related creatives.  

    Interested in contributing or have an idea?
    Emailthe editor at kidstocktheater@gmail.com

    Archives

    May 2021
    April 2021
    March 2021
    February 2021
    January 2021
    December 2020
    November 2020
    August 2020
    July 2020
    April 2020
    March 2020
    February 2020
    December 2019
    October 2019
    September 2019
    August 2019
    July 2019
    June 2019
    May 2019
    April 2019
    February 2019

    Categories

    All

    RSS Feed

Kidstock Creative Theater
​50 Cross St., Winchester, MA 
​781-729-5543
kidstocktheater@gmail.com

​​TAX ID#: 043-31-8901